Fonts 
See also: User Interface
Go To:
Import Fonts for Canvas Models
Font Migration Support for Canvas
Font Migration Support for XL Prime (WebMI 2.0)
Topic Menu

|
Using a Customer Font with a Horner OCS |
Font Manager 
Once a font is created it must be loaded into each file where the font is desired. Fonts are added, changed or removed from a file using the Font Manager. A font is only added to the current program and is automatically downloaded to the controller when other portions of the graphics objects are downloaded.
Font Manager can be accessible from User interface Menu > Font Manager:

or through the Project Navigator > User Interface [right-click] > Font > Font Manager.
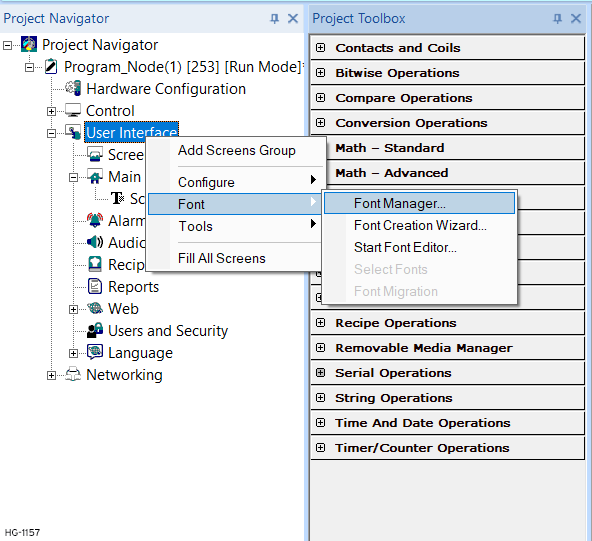
Select Font Manger.
Importing Fonts
Once Font Manager is selected the following screen will open:
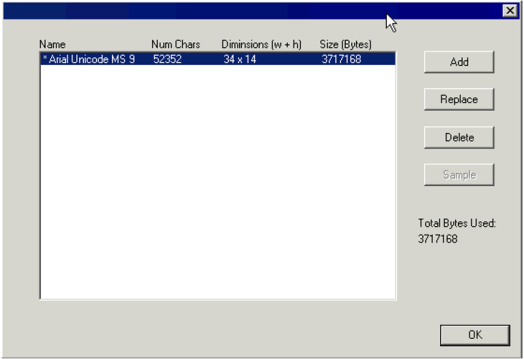
Add a Font- To add a font to a file, press the Add button on the right of the dialog. Choose the .fnt file created with the font editor. The above dialog should now show the added font in the list. The dialog should now show the font name (not the filename). Also shown are the total number of characters, the dimension of the font including ascenders and descenders, and the size of the font as bytes required in the controller.
Replace a Font - After selecting a font in the managers list, pressing replace allows loading a different font as a .fnt file created with the font editor. Any object using the old font with be replaced with the new font.
Delete a Font - After selecting any font in the manager, press the Delete button to remove the font from the file. If any objects are using this font a warning message will be shown with the option to use a default font or cancel the operation.
Return to the Top: Fonts
Unicode
This feature allows user to display different languages (Chinese, Russian, etc) on the OCS screen.
Special Characters in Graphic Objects
Place any object in graphics for e.g ASCII object and open properties dialog as shown below:
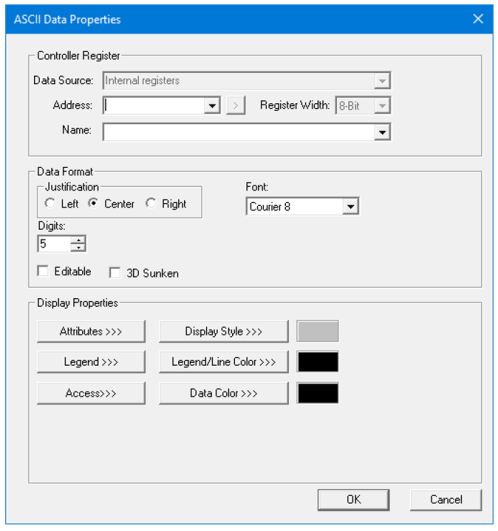
Select Legend>>> to open the Legend Properties dialog:
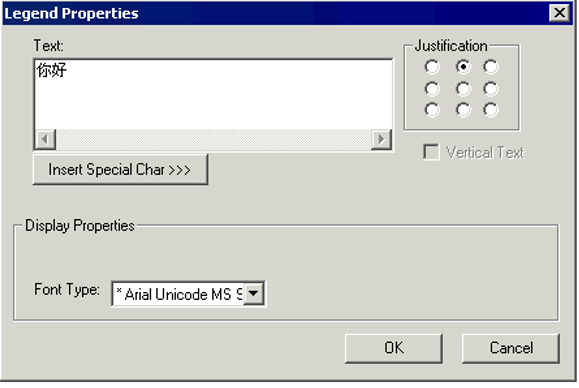
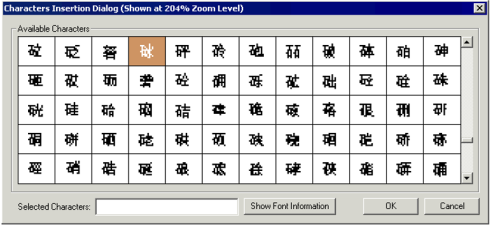
Select the Font Type which has Unicode characters. Now enter the Text in the selected Unicode font either using keyboard, character map or through Insert Special Character dialog.
Note: It is recommended that the user uses Insert special character dialog for entering Unicode characters. All the characters entered through keypad or from character map may not be supported.
Clicking Insert Special Char>>> from legend properties shows the following screen to enter Unicode characters.
Return to the Top: Fonts
Downloading the Project
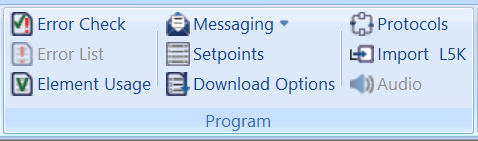
To download application with Unicode fonts user must enable “Allow Download of Unicode fonts”. To enable this option select Download Options from ribbon toolbar at Home > Download Options.
The Program Download Settings dialog will open:
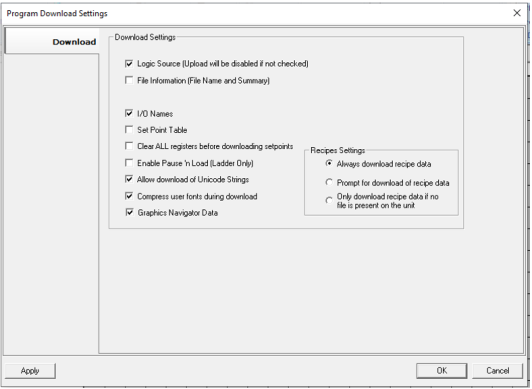
Note: Enable Compress user fonts during download if the memory size of OCS unit is less than the project size being downloaded onto it. Fonts downloaded by enabling this option cannot be uploaded back to Cscape.
Select Allow Download of Unicode Strings to download Unicode strings.
Select Compress User Fonts during Download to compress fonts and click OK to download the application.
Note: Before downloading the application having Unicode characters to the OCS unit, ensure that the firmware on the unit is capable of supporting Unicode characters.
Return to the Top: Fonts
Font Creator 
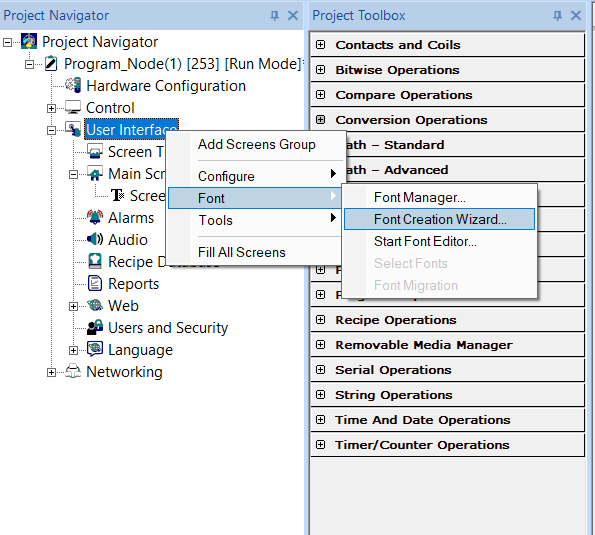
Fonts can be created using Font Creation Wizard available in Cscape. Font Creator can be accessible from ribbon toolbar Cscape > User Interface ,

or through the Project Navigator > User Interface [Right-Click] > Font > Font Creation Wizard.
Return to the Top: Fonts
Create a New Font
Select Font Creator/Font Creation Wizard, and the Font Creation Wizard dialog will open:
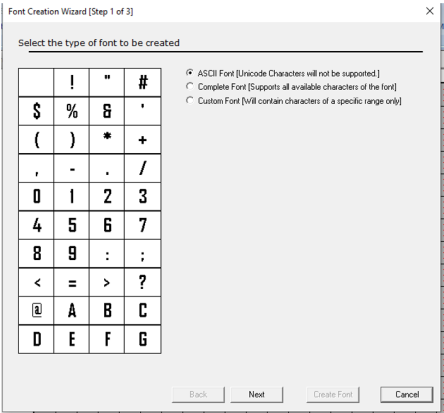
Select desired option and click Next.
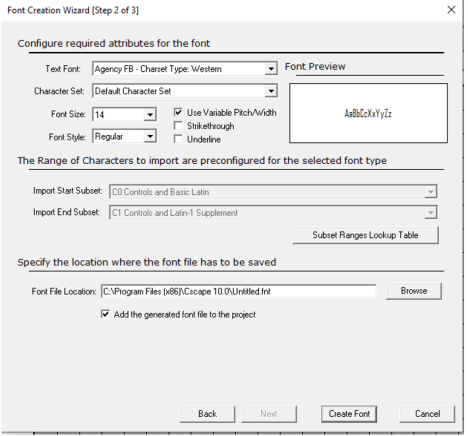
In this dialog, select font properties like font attributes, range of characters and file location. Select Create Font.
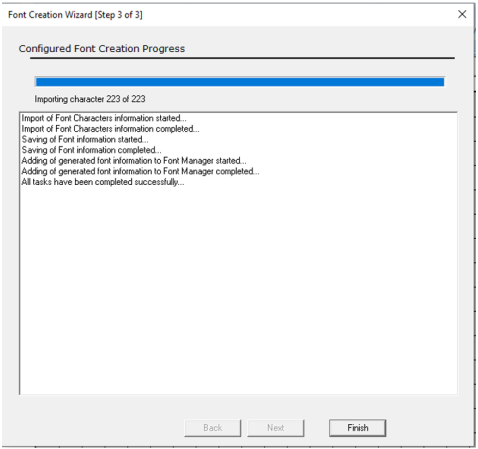
This dialog shows the progress of font creation and once completed click Finish.
User can view the Font created in the Font Manager dialog. The Font can be used in graphics objects as described Unicode .
Return to the Top: Fonts
Font Migration support for XL15+
XL15+ device will not support unicode fonts which are configured in previous Cscape builds. External fonts support has been added from Cscape 9.80 onwards.
Note:
-
User must make sure that external fonts files (.ttf) / unicode fonts files (.ttf) are present in "Fonts" folder of Cscape installed directory.
-
In a graphic screen of Cscape, if configured external unicode fonts does not display then go to Fonts folder of Cscape installed directory, double click on each of the copied .ttf files and select "Install" option.
Select Fonts through the Project Navigator > User Interface [right-click] > Font > Font Migration
The following window is displayed:
Existing Font - List of fonts created using Font Manager Wizard
New Font - List of fonts to which the existing fonts can be migrated to.
After selecting the new fonts from drop down, select Migrate. Fonts will be migrated to new fonts.
Select Fonts
Access the Font Manager through the Project Navigator > User Interface [right-click] > Font > Select Fonts.
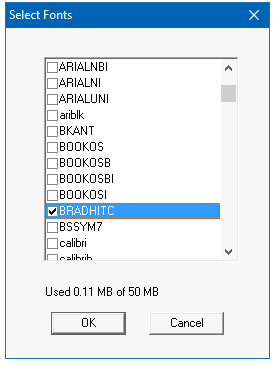
The .ttf font files that are present in Fonts folder of Cscape installed directory will be displayed here. Select the font that needs to be configured. Click on OK. Select any graphics object and configure the selected fonts.
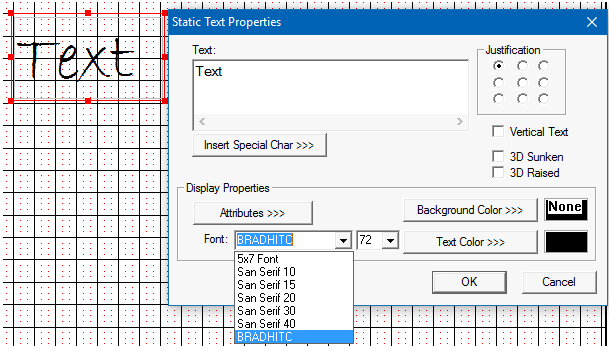
For example: In Static Text properties window, the Font dropdown will display all the fonts that are selected in Select Fonts window. User can select the font and the size of font to be displayed.
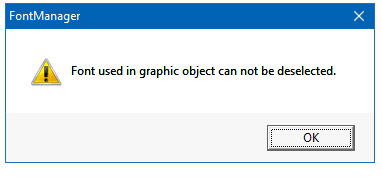
Note: If external fonts are used in any of the graphic objects then that particular font cannot be unchecked from Select Fonts list. Cscape displays the following error message:
Return to the Top: Fonts
Import Fonts for Canvas Models
Canvas controllers will not support unicode fonts which are configured in previous Cscape builds. Import fonts option are available for users to configure fonts on canvas controllers apart from default fonts that are available.
Configure Fonts in Graphics Objects
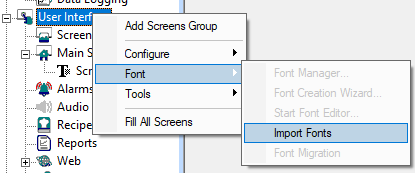
Right click on User Interface of project navigator, select Fonts | Import Fonts OR navigate to User Interface menu in ribbon toolbar and in Fonts section select Import Fonts option.
Note: All other fonts options will be disabled for Canvas controllers.

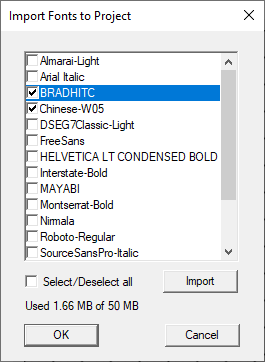
Selecting “Import Fonts” option displays the following dialog –
-
Select / Deselect all – This option is used for selecting / deselecting all the fonts displayed.
-
Import – Selecting this option allows user to select and add fonts file to this dialog from local drive (.ttf)
-
At the end of the dialog, user can get information on the size of the fonts selected.
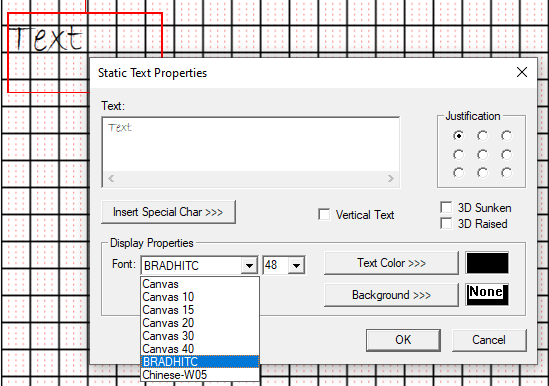
Once user have selected the fonts, the same can be configured in graphic objects as follows –
For example: In Static Text properties window, the Font dropdown will display all the fonts that are selected in Import Fonts window. User can select the font and the size of font to be displayed.
Font Migration Support for Canvas
Canvas controllers do not support unicode fonts which are configured in other controllers, these requires to be migrated to fonts supported by Canvas controllers.
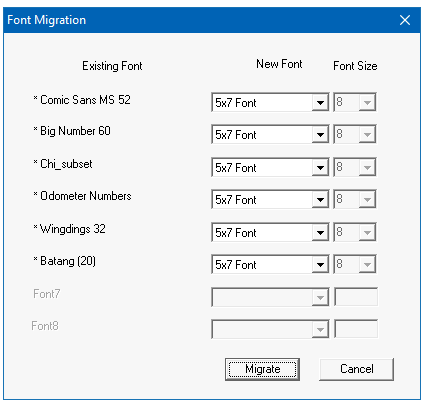
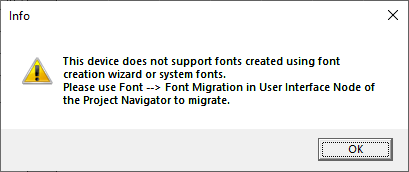
While migrating other legacy controllers program configured with user defined fonts to canvas controllers, cscape provides the following message to migrate fonts –
-
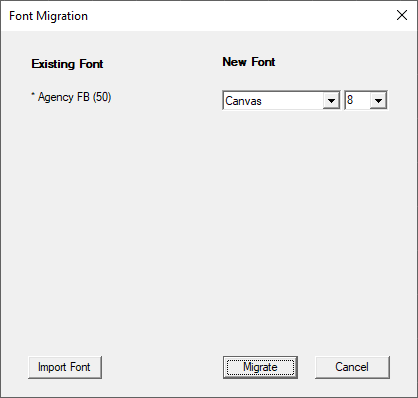
Existing Font – These are the system fonts / user defined fonts from program being migrated.
-
New Font – This option displays default fonts and imported fonts list along with font size to be configured.
-
Import Font – Allows users to add fonts to the “New font” list dropdown.
-
Migrate – After selecting the new font from the drop down and clicking on migrate will change all the existing fonts to the newly selected fonts in graphic objects.
Font Migration Support for XL Prime (WebMI 2.0)
XLPrime from FW 17.40 onwards support WebMI 2.0 and it will be necessary to migrate system fonts / user defined fonts to fonts that are supported in WebMI 2.0.
For migration of fonts, right click on Web option of project navigator and select WebMI Font Migration. The following dialog will be displayed –
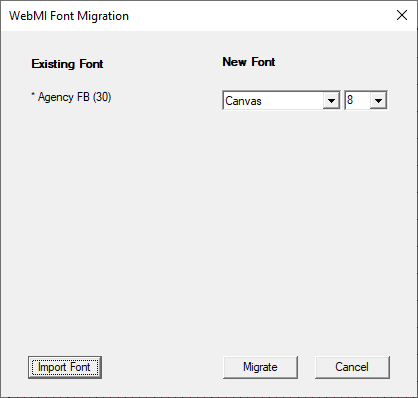
-
Existing Font – These are the system fonts / user defined fonts from program being migrated.
-
New Font – This option displays default fonts and imported fonts list along with font size to be configured.
-
Import Font – Allows users to add fonts to the “New font” list dropdown.
-
Migrate – After selecting the new font from the drop down and clicking on migrate will change all the existing fonts to the newly selected fonts in graphic objects of web pages.
-
Note – Migration is only for webpages and not for device screens.
Return to the Top: Fonts